https://www.slideshark.com/Landing.aspx?pi=zHuzHGfj6z8rosz0
Click Link to View Screen by Screen Tips for Creating Your Own Shadow Swap!
01 Mar 2013 Comments Off on Click Link to View Screen by Screen Tips for Creating Your Own Shadow Swap!
To Watermark or Not to Watermark…That is the Question.
22 Feb 2013 Comments Off on To Watermark or Not to Watermark…That is the Question.

outward bound–typos and all…
mspdgtt-over-my-shoulder.jpg
19 Feb 2013 Comments Off on mspdgtt-over-my-shoulder.jpg

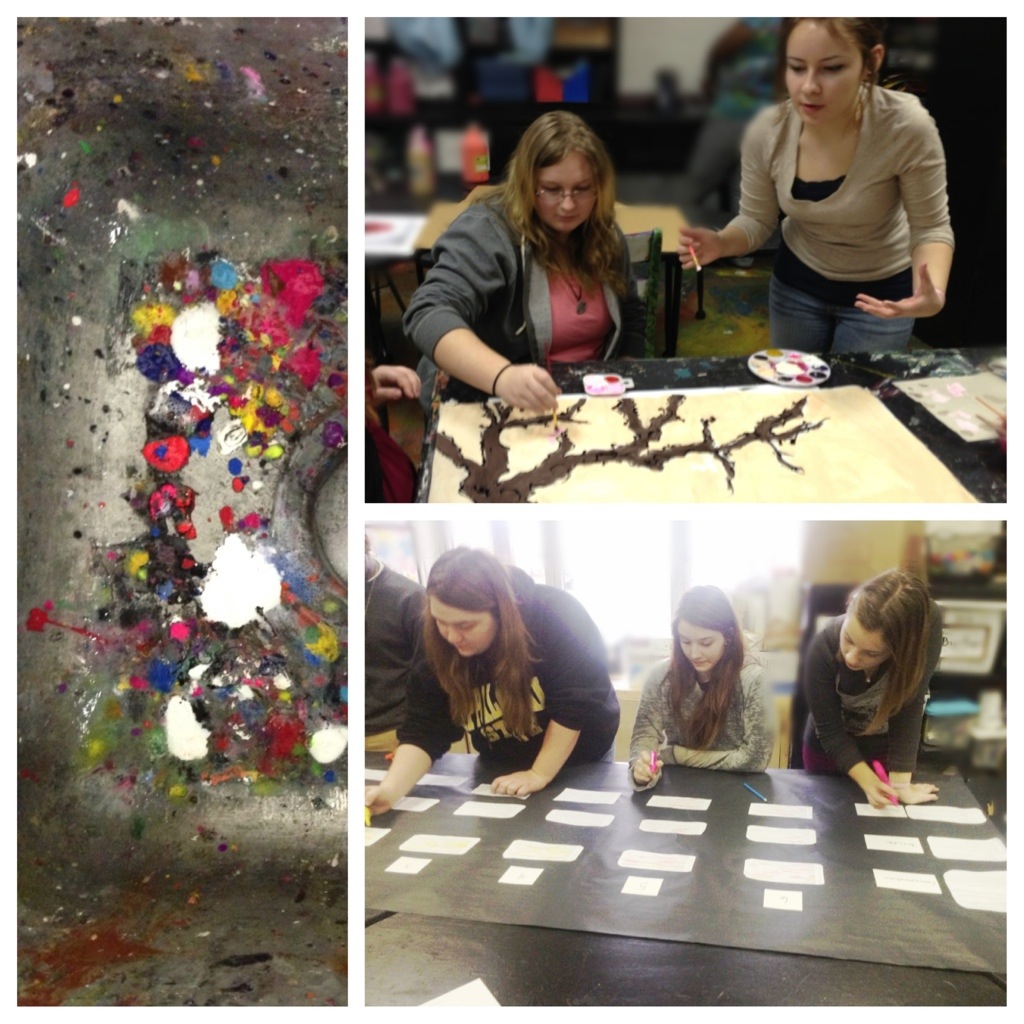
The photos my students take are always my favorite.
Click on the link below
18 Feb 2013 Comments Off on Click on the link below
in from mspdgttsartstudents Tags: assignment, photo
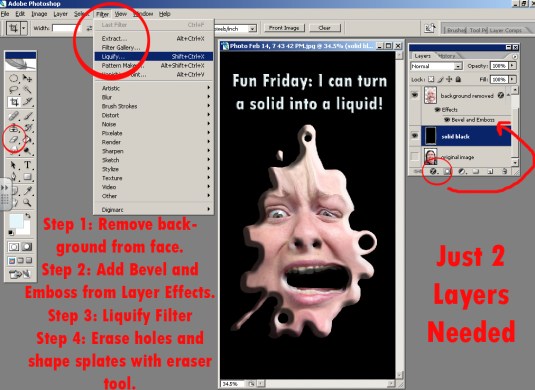
I can use Photoshop to create my own scene inspired Salvador Dali’s famous persistence of memory.
I can apply the same techniques I learned in the Liquify Me assignment in a new way.
Gather images, then combine them in Photoshop.
Techniques to use:
Separate layers: The background (a landscape in this scenario) is on the bottom. Each object that you are liquifying will be on its own layer with empty space around it, so that the background shows through.
Layer effects: such as drop shadow or bevel and emboss (found at the bottom of the layers palette)
Filter: Liquify filter, including “pushing the image” (forward warp) and “bulging” (bloat)
Erasing: choosing hard edge or soft edge erasers, changing the diameter of the eraser.
Free Transform: (found under the edit menu), turning, moving…and when finished.
11 Feb 2013 Comments Off on
in Resources Tags: article, photo, photography, rule of 3rds, rule of thirds
Link to AP Studio Score Examples
08 Feb 2013 Comments Off on Link to AP Studio Score Examples
in Resources Tags: AP, AP Art, rubric

